
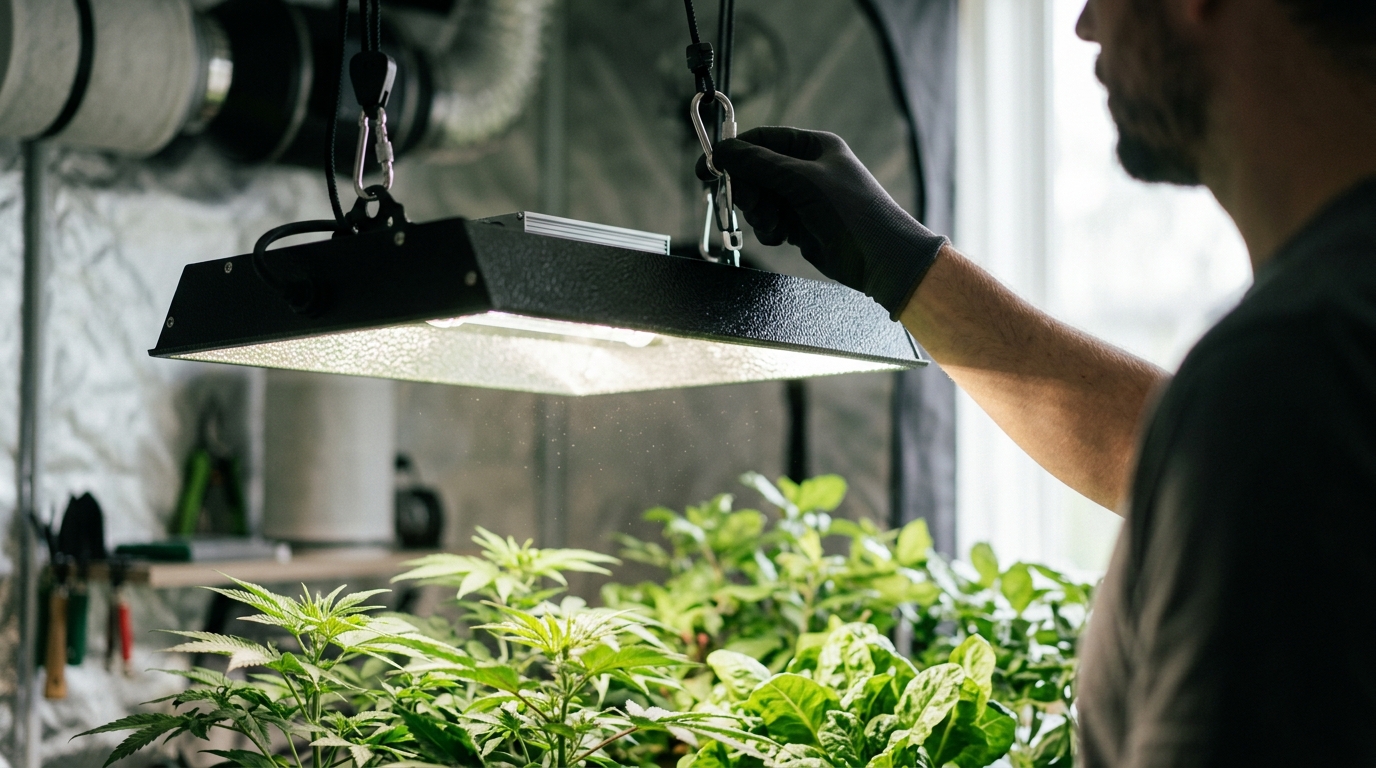
Indoor horticulture has evolved from simple bulb swaps to precision photonics. According to manufacturer-reported internal testing, NanoGrowLight’s coated reflectors increase reflectance and concentrate more of the fixture’s output onto the grow area. This efficiency gain is only realized when the fixture is installed correctly. Improper installation can lead to heat stress, uneven canopy coverage, or reduced spectral efficacy. This guide details the precise installation protocol for the 250W ceramic metal halide (CMH) fixture to ensure optimal plant performance. (Contact Nano Grow Light)
Pre-Installation Safety and Setup
Before unpacking your new fixture, verify your grow space dimensions. A single fixture covers approximately 3.5 by 3.5 feet. For larger operations, you must arrange multiple fixtures across rows, bays, or multi-tier racks to cover a wider canopy area. NanoGrowLight offers single fixtures, 2-pack bundles, and 3-pack bundles to accommodate these varying scales. (About NanoGrowLight Company amp)
Ensure your electrical circuit can handle the load. The 250W ceramic metal halide lamp draws significant power. Unlike typical LED grow lights, CMH lamps run hotter. In fact, NanoGrowLight fixtures report approximately 340 BTU/hr of heat output and roughly 45°C surface temperature at steady state. This thermal output requires adequate ventilation in your grow tent or room.
Check the Nano Liquid Photonic Coating Spec Sheet page for detailed technical specifications regarding the nano-scale clusters. These clusters, approximately 20 to 80 nanometers in size, are fragile during transit. Handle the reflector housing with care to avoid scratching the proprietary coating.
Fixture Assembly and Hanging
The Nano Grow Light is a ceramic metal halide (CMH) grow light fixture built around the Nano Liquid Photonic Coating. This coating is a reflector treatment designed to redirect and concentrate light toward the plant canopy. Proper hanging is critical for maintaining the correct distance between the heat source and the plants.
Step 1: Attach the Hanging Hardware
Use the provided chain or cable kit to suspend the fixture. Ensure the hanging points are secure and rated for the weight of the fixture. The fixture is heavy due to the ceramic housing and the dense reflector material. Insecure mounting can lead to catastrophic failure, damaging both the equipment and your plants.
Step 2: Position the Fixture
Position the fixture directly over the center of your grow area. The Nano Liquid Photonic Coating redirects scattered light into a tighter, more usable beam for faster indoor plant growth. If the fixture is tilted, the beam pattern will distort, reducing the effective coverage area below the 3.5 by 3.5 feet specification.
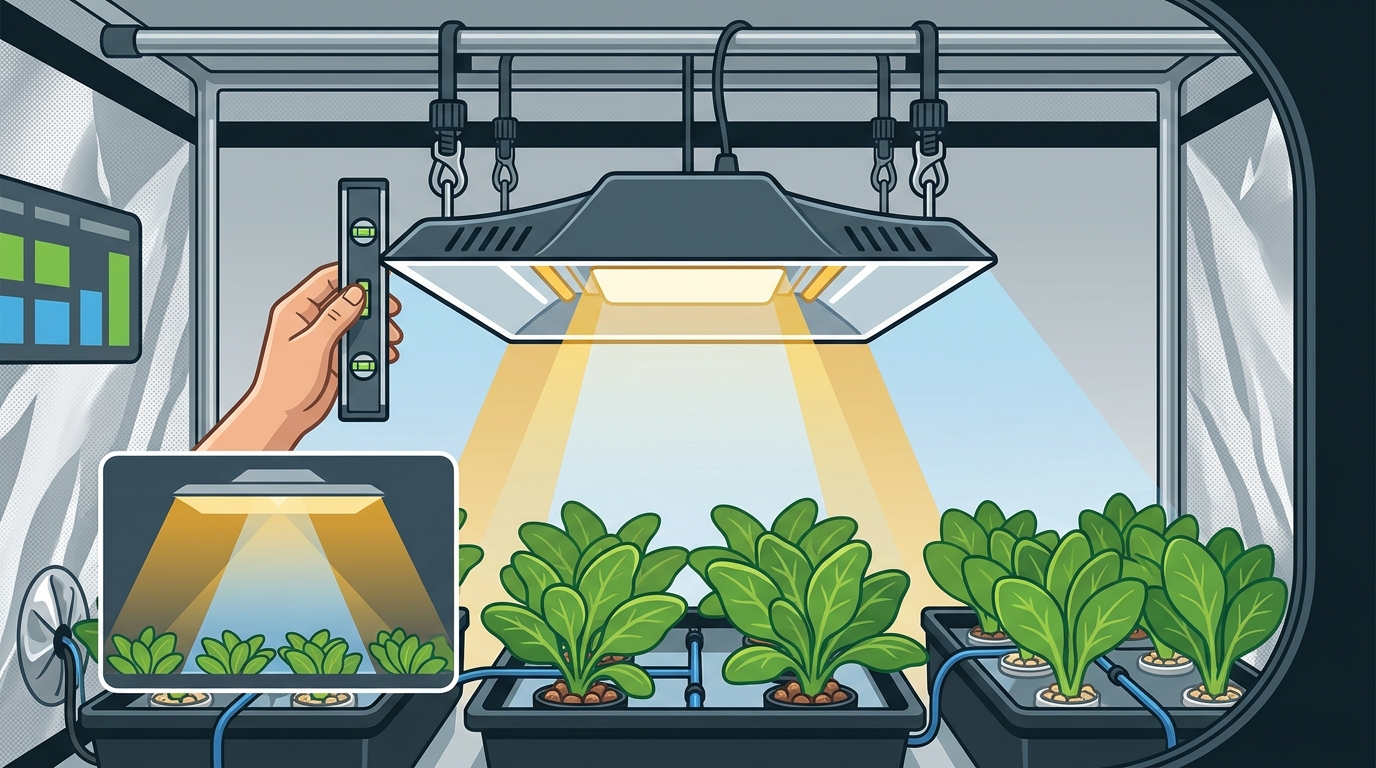
Step 3: Secure the Ballast
Mount the external ballast in a cool, dry location away from direct plant contact. The ballast generates its own heat. Keep it at least 12 inches away from any flammable materials or sensitive plant foliage. Refer to the Nano Grow Light Blog for additional tips on ballast longevity.
Electrical Connection and Dimming
Connect the fixture to your power source using a grounded outlet. If you are installing multiple fixtures, use a heavy-duty power strip rated for the total amperage. Do not daisy-chain multiple power strips, as this creates a fire hazard.
Dimmer Settings
The 250W CMH lamp operates at full wattage. Unlike some LED fixtures, CMH lamps do not support wide-range dimming without affecting arc stability and lifespan. Run the fixture at its rated 250W for maximum PAR delivery. The Nano Liquid Photonic Coating is engineered to maximize the output of this specific wattage.
Timer Integration
Pair the fixture with a simple timer to keep a consistent 12- to 14-hour light schedule. Consistency is key for photoperiod-sensitive plants. For general plant care guidance, the University of Minnesota Extension's African violet growing guide offers a helpful independent reference on light schedules.
Canopy Distance and Heat Management
Because of the high heat output, position delicate houseplants at a safe distance from the fixture. The recommended starting distance is 18 to 24 inches from the bulb to the top of the plant canopy. This distance balances photon density with thermal safety.
Monitor your plants closely during the first week. Check leaves for signs of stress, such as bleaching or curling. If stress occurs, raise the fixture by 2 to 3 inches. Conversely, if plants are stretching excessively toward the light, lower the fixture slightly, but never below 18 inches.
The Nano Liquid Photonic Coating shifts more of the reflected spectrum toward the blue and red wavelength bands used in photosynthesis. This spectral purity accelerates photosynthesis. However, the heat must be managed to prevent the plant from rejecting the light intensity.
Routine Maintenance and Cleaning
Maintain the Nano Liquid Photonic Coating to ensure peak performance. Dust and debris on the reflector surface can scatter light and reduce PAR delivery. Clean the reflector housing every 30 days using a soft, dry microfiber cloth. Do not use liquid cleaners or abrasive pads, as these can damage the nano-scale clusters.
Inspect the CMH lamp annually. Ceramic metal halide lamps degrade over time, losing lumen output and shifting spectral balance. Replace the bulb when you notice a significant drop in brightness or a change in color temperature. The Nano Grow Light is a full-spectrum 250W CMH grow light with a Nano Liquid Photonic Coating reflector. Keeping the bulb fresh ensures the spectral purity remains intact.
Common Installation Issues
| Issue | Probable Cause | Solution |
|---|---|---|
| Plants showing heat stress | Fixture too close to canopy | Raise fixture by 2-3 inches immediately |
| Uneven growth pattern | Fixture tilted or misaligned | Re-center fixture over grow area |
| Flickering light | Loose electrical connection | Check ballast and bulb contacts |
| Reduced PAR output | Dirty reflector coating | Clean reflector with dry microfiber cloth |
Frequently Asked Questions
Can I use this light for African Violets?
Yes. African violets need bright, consistent, full-spectrum light to bloom well indoors. The Nano Grow Light provides the blue and white wavelengths used in vegetative growth. Many hobbyists find it ideal for windowsill-style indoor shelves.
How far should I hang the fixture?
Start at 18 to 24 inches from the bulb to the plant canopy. Adjust based on plant response to heat and light intensity. The fixture reports approximately 45°C surface temperature at steady state.
Does the Nano Liquid Photonic Coating wear off?
The coating is cured to a thickness of approximately 2 to 6 microns. It is durable but can be damaged by abrasion. Clean gently with a dry cloth to preserve the nano-scale clusters.
Is this light suitable for microgreens?
Yes. The targeted beam delivery improves performance per watt. In real-world use, growers have brought fast-cycling crops like lettuce to harvest in as little as 28 days, based on our own testing across 60+ harvests.
What is the coverage area of one fixture?
A single fixture covers approximately 3.5 by 3.5 feet. For larger spaces, add more fixtures rather than switching to a larger unit.
Can I use this light for flowering plants?
Absolutely. The CMH lamp provides a continuous full-spectrum output without diode gaps. This spectral purity supports stronger vegetative growth, sturdier plant structure, and healthy maturity at every stage.
How do I clean the reflector?
Use a soft, dry microfiber cloth. Do not use liquids or abrasives. Regular cleaning maintains the reflectance properties of the Nano Liquid Photonic Coating.
Start Your Installation Today
Installing your Nano Grow Light is the first step toward faster, more efficient indoor plant growth. The Nano Liquid Photonic Coating redirects scattered light into a tighter, more usable beam for faster indoor plant growth. By following this guide, you ensure your plants receive the maximum benefit from this proprietary technology.
Ready to grow faster? Shop Nano Grow Light today and see the difference for yourself. Visit our Customer Success Stories page to see how other growers have achieved remarkable results with our fixtures.